Creating this manicure tutorial requires patience and a steady hand. Follow these steps to bring this 3D garden to your fingertips.
Step 1: Preparation and Base
Start by prepping your nails. Push back cuticles, buff the surface gently, and apply a high-quality base coat. Cure under an LED lamp. Apply two thin coats of a sheer, iridescent white or "milky" gel polish. This provides that glowing, "lit-from-within" look visible in the image.
Step 2: The Watercolor Marble Background
Before adding 3D elements, we need that soft, blurred background. Take a palette and drop small amounts of pastel pink, blue, and yellow. Using a brush dipped in a little bit of base coat or alcohol, "dab" these colors onto the nail, letting them bleed into one another. Do not aim for perfection; the goal is a soft, cloud-like transition. Cure once satisfied.
Step 3: Chrome or Pearl Dust (Optional)
To achieve the high-shine finish seen in the photo, rub a small amount of "pearl chrome powder" over the cured marble base. This unifies the colors and adds a professional, expensive-looking sheen.
Step 4: Sculpting the 3D Petals
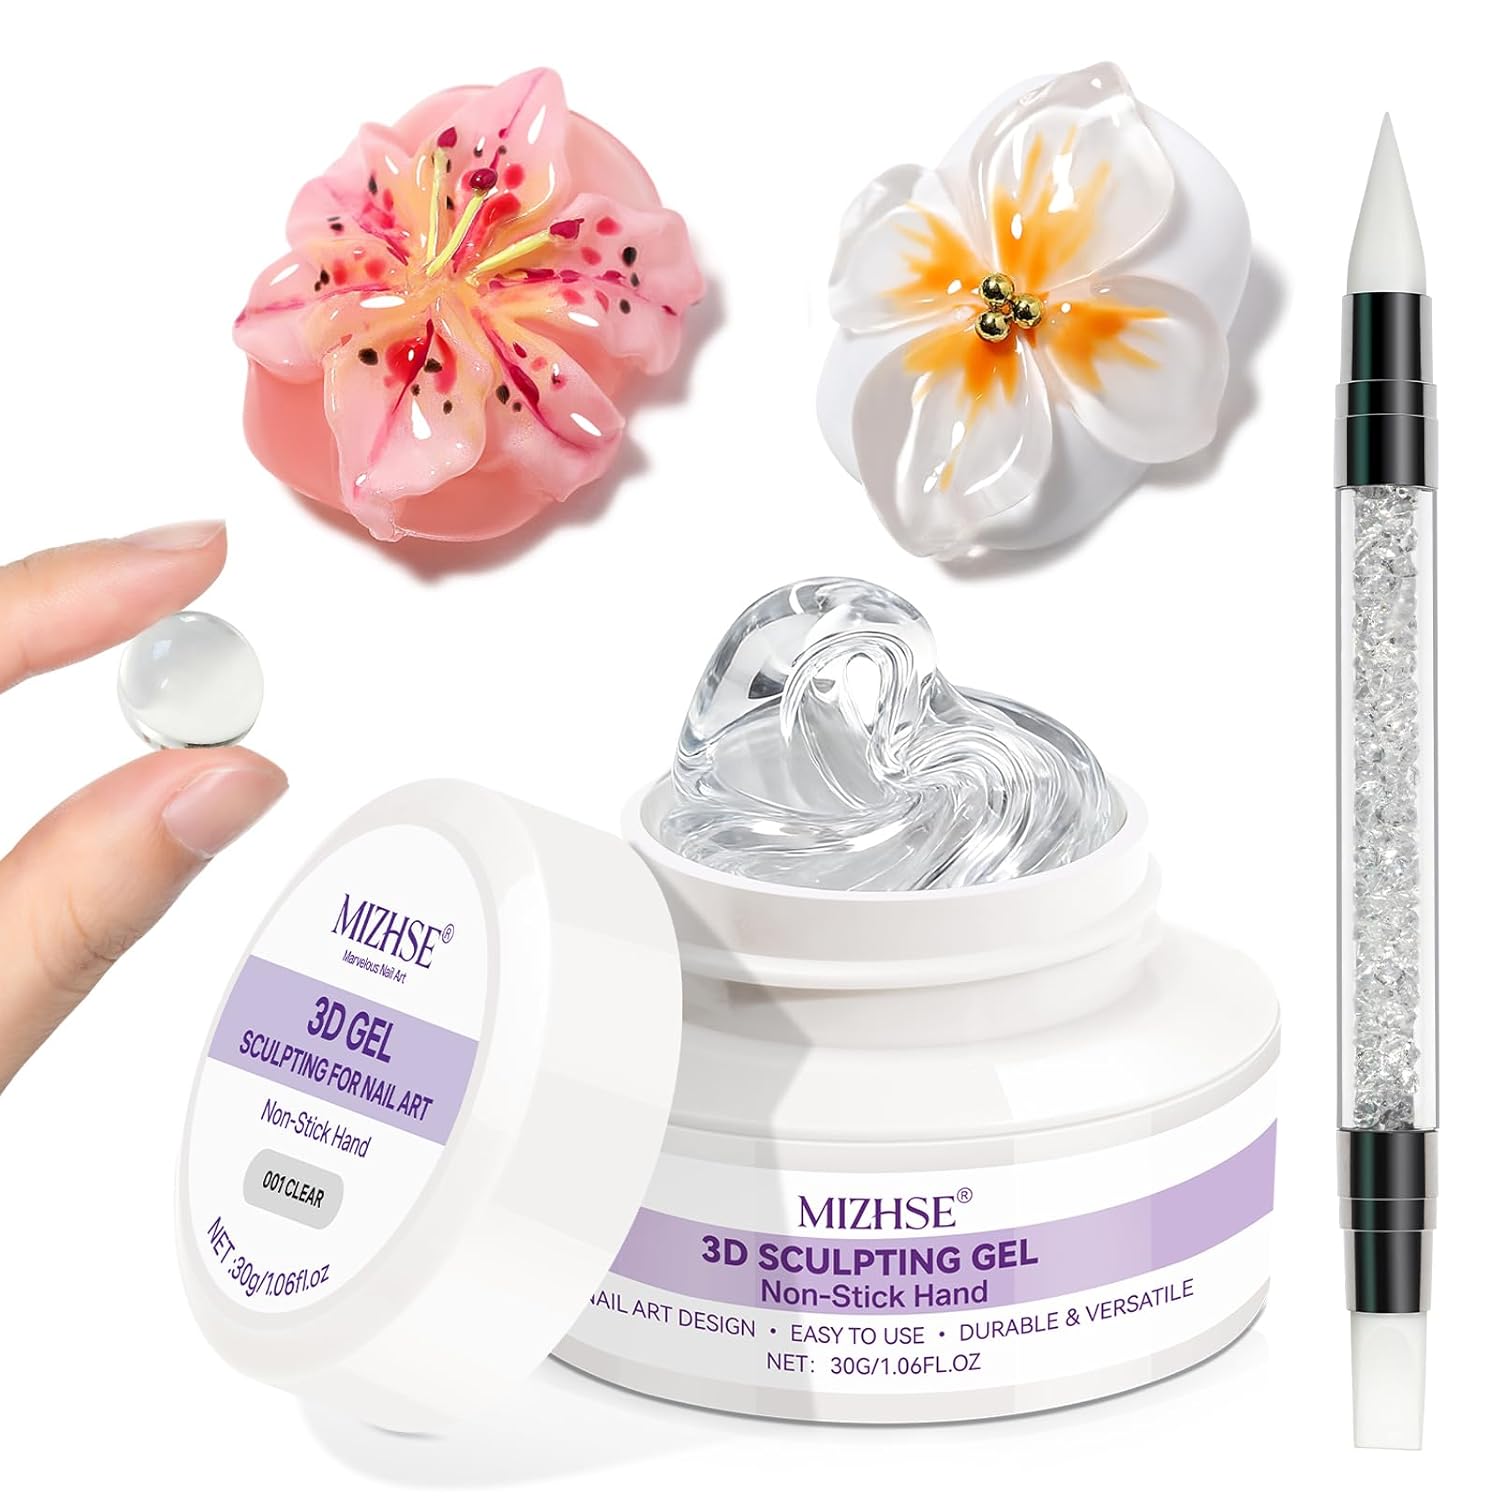
This is where the magic happens. Using a 3D carving gel or a very thick builder gel, pick up a small bead on a silicone tool or a dampened brush. Place it on the nail and gently drag it toward the center to create a petal shape. Repeat this 3 to 5 times to form a flower. In the image, you’ll notice the petals are varied in color—some pink, some lavender. Mix your carving gel with a drop of colored polish to achieve this. Cure for a full 60 seconds.
Step 5: Adding the "Dew Drops" and Gold Centers
Using a dotting tool and a thick, non-wipe top coat (or clear builder gel), place small "beads" of clear gel randomly around the nails. These mimic raindrops. On the center of the flowers, place a tiny dot of gel and use tweezers to drop 1-3 gold caviar beads into the center. Cure immediately to lock them in place.
Step 6: Final Seal
Carefully apply a top coat around the 3D petals, not over them, to maintain their texture. If you cover the 3D parts entirely, you lose the crispness of the design. Seal the edges well and give it one final long cure.