




Ready to level up your manicure tutorial skills? Follow these steps to recreate this exact design.
Step 1: Prep and Prime
Start by shaping your nails into a medium-to-long almond or oval shape. This elongated canvas is essential for the vertical stripes and the detailed fruit slices. Perform a dry manicure, pushing back cuticles and buffing the nail plate to ensure your salon quality look lasts for weeks.
Step 2: The Base Layer
Apply one or two thin coats of a sheer milky pink or nude gel. You want the natural nail to be slightly visible, giving it a soft, airy feel. Cure under a UV/LED lamp.
Step 3: Mapping the Designs
- The Striped Ring Finger: Using your fine liner brush and bubblegum pink gel, draw three vertical stripes. Start from the center and move outward to ensure symmetry.
- The Pinky and Index Tips: Instead of a traditional French tip, create a slight "corner" swipe of pink on the side of the nail.
Step 4: The 3D "Hero" Lemon Slices (Middle Finger and Thumb)
This is where the magic happens.
- The Rind: Paint a semi-circle of bright yellow at the base or side of the nail.
- The Pith: Use a white liner gel to paint a thin line just inside the yellow rind.
- The Segments: Draw "V" shapes meeting at a central point using white gel.
- The Pulp: Fill the segments with a translucent yellow "jelly" polish.
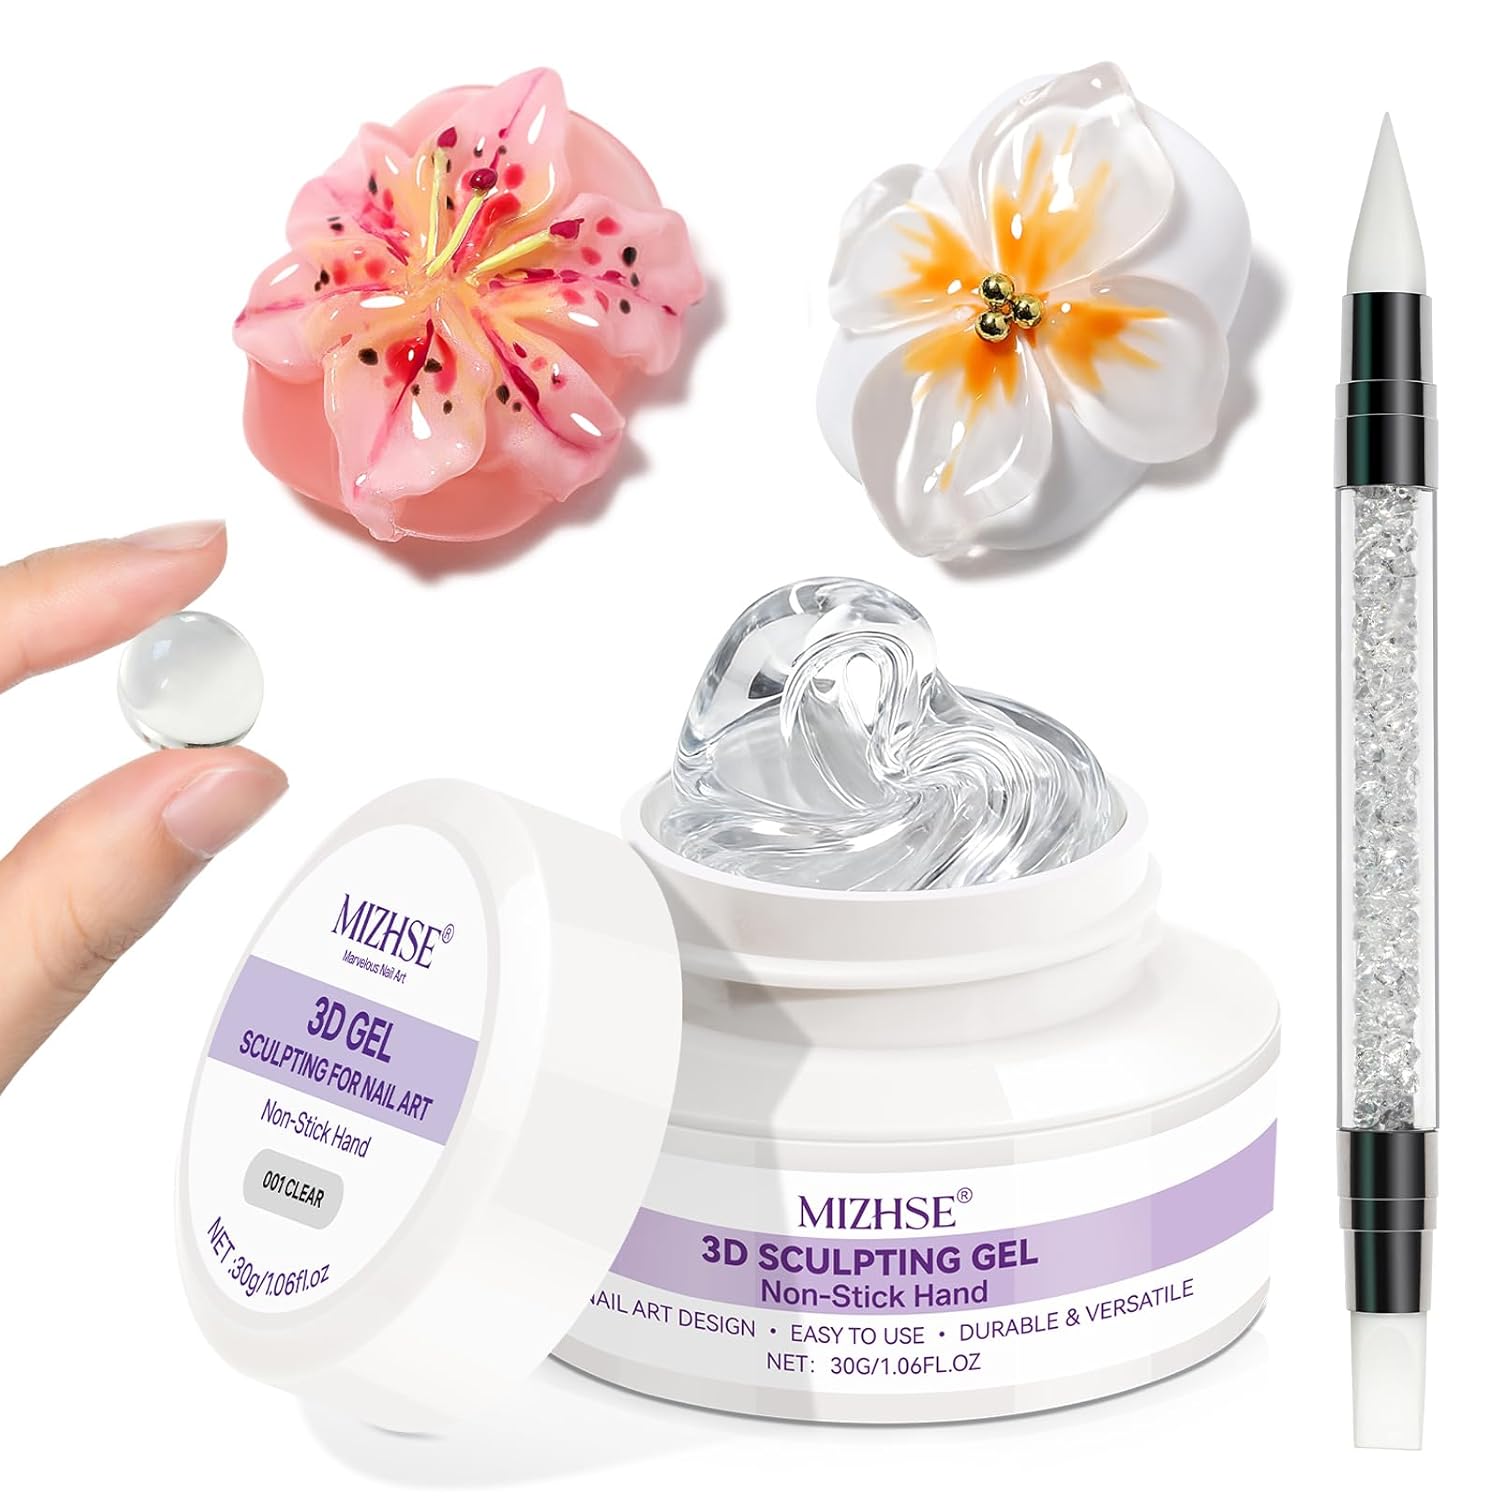
- The 3D Texture: Take your clear building gel (or a non-wipe 3D top gel) and place small droplets on each yellow segment. Use a dotting tool to pull the gel into a "tear-drop" shape. This creates the raised, juicy texture seen in the image. Cure immediately to lock the height.
Step 5: Adding the Tiny Lemon Accents
On the pinky, index, and ring fingers, use your 3D gel to create two tiny "beads" for the lemons. Paint them yellow, and use a dark green liner gel to add two tiny leaves. If you have pre-made lemon charms, simply adhere them with a dab of builder gel.
Step 6: Top Coat and Finish
Apply a high-shine, no-wipe top coat over the entire nail. Pro Tip: Use a clean brush to wipe the top coat off the 3D raised sections of the lemon slice before curing. This keeps the texture sharp and prevents the 3D effect from looking "melted."







