Follow this manicure tutorial to bring the ocean to your fingertips. This process requires patience, especially with the magnetic elements, but the result is worth every second.
Step 1: Prep and Prime
Start by shaping your nails into an elegant almond or oval shape. This elongated shape mimics the organic curves of the ocean. Clean the nail plate thoroughly with alcohol, push back your cuticles, and apply a high-quality base coat. Cure under a UV/LED lamp.
Step 2: The Milky Base
Apply two thin coats of your milky pink or nude gel polish. The goal here isn't full opacity; you want a soft, "jelly" finish that looks like a natural nail, but better. Cure each layer for 60 seconds.
Step 3: The Velvet French Tips
Using your teal magnetic polish, paint a thick, slightly irregular French tip. Don't worry about a perfect line—the "waves" of the ocean are rarely straight! Before curing, take your magnet. Hold it near the sides and the free edge of the nail to pull the shimmering particles toward the center, creating that soft, "velvet" glow. Once the light hits it just right, flash-cure immediately to "freeze" the particles. Repeat on all fingers and do a full 60-second cure.
Step 4: Sculpting the Seaweed
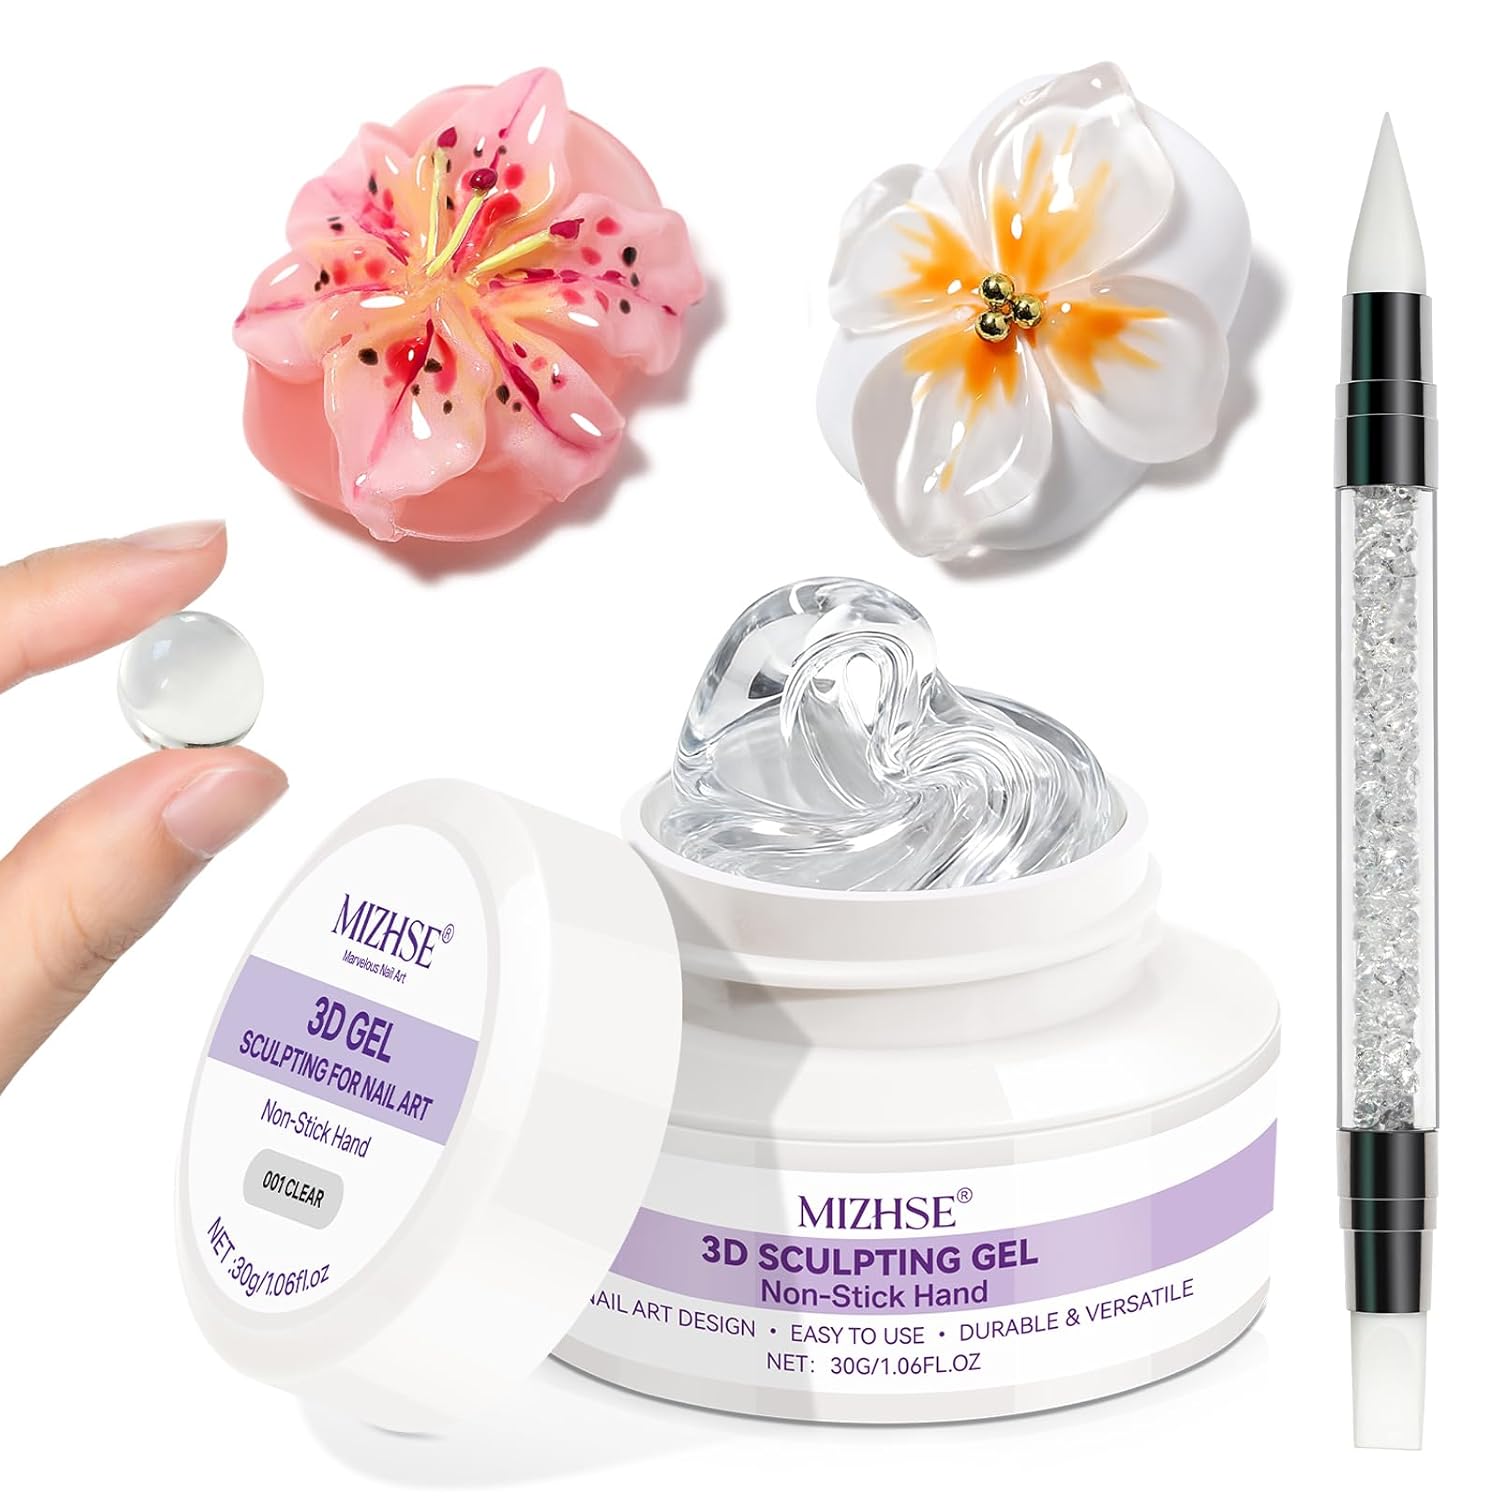
Using a fine liner brush and your thick 3D building gel, draw thin, wavy lines starting from the teal tips and "growing" upward toward the cuticle. Vary the thickness of the lines to make them look like real underwater flora. Cure these lines for 60 seconds.
Step 5: The Chrome Finish
Once the 3D lines are cured, take a small sponge applicator and rub your chrome powder directly over the raised gel lines. The powder will only stick to the gel, giving the seaweed a brilliant metallic sheen. Gently brush away any excess powder.
Step 6: Placing the Charms
Apply a small bead of rhinestone glue or thick builder gel where you want your goldfish and starfish to sit. Carefully place the charms using a wax picker tool. Position the fish as if it’s swimming through the 3D seaweed. Cure for 90 seconds to ensure the charms are locked in place.
Step 7: The Final Seal
Apply a generous layer of high-gloss, no-wipe top coat over the entire nail. Be careful to go around the charms rather than over them if you want to preserve their metallic texture, but ensure the chrome seaweed is fully sealed to prevent chipping.